Showing posts with label easy quilting instructions. Show all posts

Wednesday, January 23, 2013

Sweet Baby Gifts (pt 2)

 To go along with the receiving blanket from yesterday's post, I made this super-duper simple and girly quilt. Again, being short on time, I opted for a really easy, basic quilt design.

The new mommy is a Hello Kitty fanatic! So when I saw this pink, cutesy fabric, I knew I had to get it. I got a yard and a half of the Hello Kitty print, one yard each of pink and white, and matching binding. Naturally, there was plenty of the pink and white left over because it's always nice to have some solid colors around.

I used all the Hello Kitty print though - three strips on the front and then the rest as the back of the quilt. The HK strips were about 5" finished, the pink about 4" and the white stripes are all 2" finished by the width of the fabric. The finished quilt size was about 35"x 43".

The only thing I didn't get a picture of was the back - which is just the HK fabric bordered by the solid pink. In total this quilt took me about three days to finish given the limited time I had. You can see that I used simple straight line quilting. Really, if I had a good day to work on a quilt and needed to have one finished, this is the design I would use.

This is also a great beginner quilt. It is simple and can easy be made in to a more striking design by using more vibrant or contrasting patterns than the ones I've used.

In the end, the new mommy loved the quilt, and I had the honor of giving the new baby her very first Hello Kitty blanket!

Tuesday, May 1, 2012

A Classic Bouquet

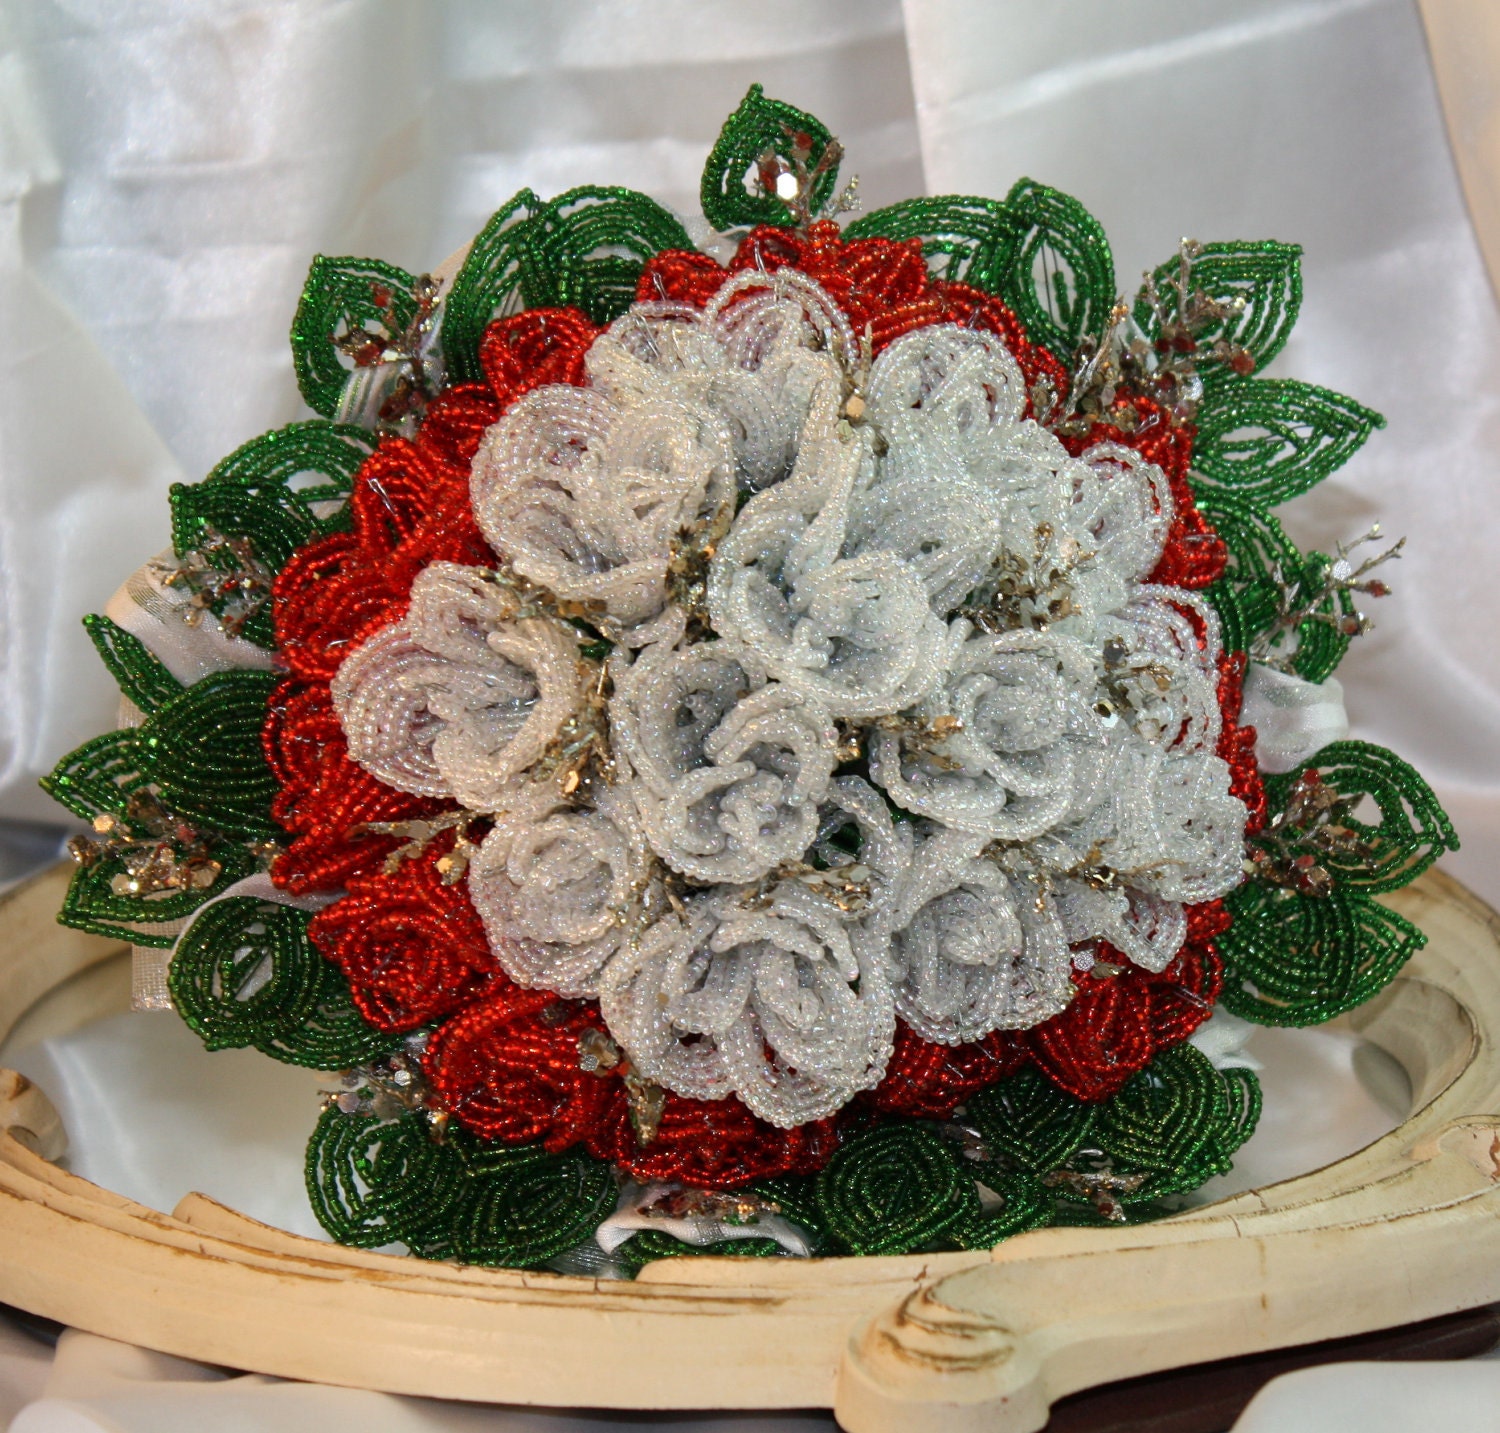
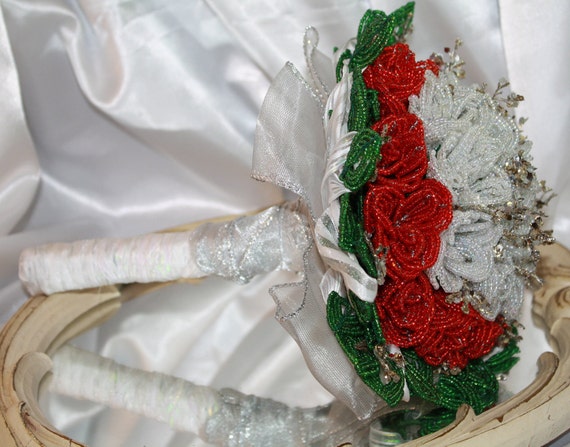
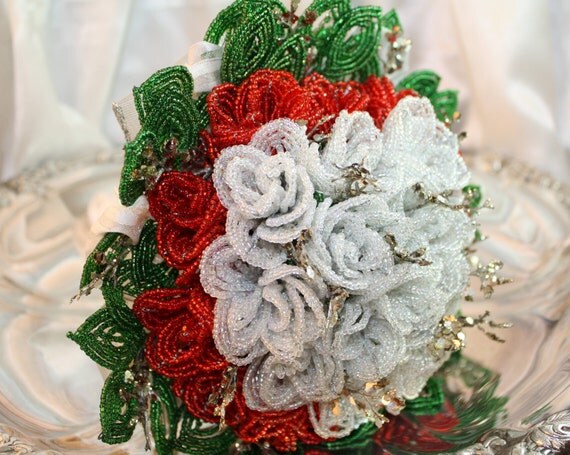
Here it is: the first bouquet I completed of all beaded flowers. I decided on a classic rose bouquet, and made 12 white roses and 12 red roses. The greenery that rings the flowers is also hand beaded rose leaves. When I finished the flower construction, I took them to a local florist and she built the bouquet for me and finished it with a spray of rose scent. I love this bouquet and would probably use it myself if I had the opportunity...


This beautiful bouquet is available for sale and I'm sure it will add that touch of glamour and class to anyone's special day!


Wednesday, October 14, 2009

Another Crazy Quilt

This is the quilt that I made for my husband as a birthday present. I love this quilt myself - so snuggly and so easy. It is another design from the Crazy Short Cut Quilts book. He loves it because it actually covers him.

Next week I will post begin posting more information on how to make these quilts, so you can try one for yourself!

Happy Crafting All!

Wednesday, August 19, 2009

Make A Quilt With Me, Wk 5

We are in the home stretch now! Of course, this is also where the quilt making can get a little tricky and very frustrating. These last steps will require a lot of patience. By now you have you quilt top completed and pinned to the batting and backing in a 'quilt sandwich' and you are ready to start quilting through the center.

One of the easiest ways to do the actual quilting is what's called 'stitch in the ditch.' This basically means you will be stitching next to (in the ditch) your block seams. I personally love this method because I have a very inexpensive sewing machine and straight lines are easier to do than trying to do fancy curves and designs.


Unroll your quilt on one side, just to the center seam. I prefer to start stitching in the center of the quilt and work my way out. The rolled part will stay under the throat of the machine as you sew a straight line down the center seam.

The biggest key here is to go slow. You may want to drop your dog (feeder) feet so you can guide the quilt through the throat and past the needle. I found that it helped me to leave my feet up - they aided in moving the material through a little more smoothly with less effort on my part.

For this week, take your time and sew all the straight seams between each of the 36 blocks. On the back, you will notice a grid pattern take shape. Once you have all the vertical seams sewn, rotate the quilt one quarter turn. This will make the vertical stitching you just finished horizontal. Roll half of the quilt and repeat the process. Make sure you also do the seam connecting the border to the squares.

That's it for this week. Again, TAKE YOUR TIME! Keep a slow, steady pace as you move the quilt through the machine and before you know it, it will be done.

Now is when you should be getting really excited! Next week will be the final step and once you've completed it, you'll have a beautiful quilt you can be proud of. Until then....

Happy Crafting All!

Wednesday, July 29, 2009

Make A Quilt With Me, Week 2

So if you did your homework last week, you'll have your supplies. Now is the time to get down to the fun and actually start playing with the material.

Below you can see the material I started with. I chose purple, yellow and teal fabrics with a very subtle print design. The purple will be by Fabric A, Yellow is Fabric B, Teal is Fabric C. For my backing fabric (Fabric D) I chose a cute patchwork flannel print in soft pastel tones.

For right now, Fabric D will get set aside.


Step One: I highly recommend you wash and dry fabrics. This will take care of any shrinkage and color bleeding that could distort a finished quilt if not done before hand. Once the fabric is dry, iron it smooth. Some quilters like to press their fabrics with a little starch to make them a little stiffer and easier to work with.

Step Two: Cut the following strips:

  • Fabric A: 6 strips 2.5" x width of fabric
  • Fabric B: 14 strips 2.5" x width of fabric*
  • Fabric C: 6 strips 2.5" x width of fabric
(*Set aside 8 strips of Fabric B for the border and binding. You only need 6 strips of each fabric for the blocks.)
Step Three: Using a 1/4" seam allowance, sew together one strip of Fabric A to Fabric B. Then sew one strip of Fabric C to opposite side of Fabric B. You end up with a long strip of the three materials approximately 6.5" wide. Repeat the process until you have 6 identical strips.

Step Four: Turn each strip over and press your seams to the darker fabric. Some quilters prefer to press their seams open. For this project, to keep it simple, just make sure the seams on all the strips go the same direction.

Step Five: From each long strip, cut six (6) 6.5" fence rail blocks. (Double check the width of your blocks and make sure you end up with squares. If each block is off a little, it will make sewing the blocks more difficult later on.)

Step Six: Set your blocks aside and relax. Next week we will go over arranging your blocks and sewing them together. I recommend putting your blocks into a gallon size plastic bag that can be sealed to protect them. (I actually like to store material for quilt projects that I am currently or soon will be working on in zip-lock bags to keep them clean and all together.)

I really hope you are enjoying the process so far. Are you excited now that you are seeing the materials you picked out actually joined together? Just think, in a few short weeks, you will have transformed those strips and blocks in a wonderful little quilt!

Happy Crafting All!

Wednesday, July 22, 2009

Basic Baby Quilt, Wk 1 - Let Process Begin


Last week I showed you a sample of the simple square block to make this lovely quilt. Starting this week, I will walk you through making the quilt pictured above. The whole process should take about 6 weeks to complete. I have broken the process up so that there isn't too much to do each week and you don't end up feeling overwhelmed and frustrated. Plus, I understand that in this day and age, people are busy and can't always set aside a huge block of time for something. The idea is to have each step take only a few hours a week - so if you can block out a half hour a day to work on this, you should not have any problems. A new step will be added every Wednesday until the quilt is finished.

Now down to business....

For the first week, the only thing I am going to have you do is gather your supplies.

You will need:

  • Four cotton fabrics, in 44"-45" width
  1. 1/2 yard each of Fabric A and Fabric C (for blocks)
  2. 1 yard of Fabric B (for blocks, border and binding)
  3. 1 1/4 yard of Fabric D (for backing)
  • Batting, Crib Size (45" x 60")
  • Coordinating Thread
  • Rotary Cutter
  • Rotary Cutting Mat
  • Quilting Ruler (I prefer 6.5"x 24")
  • Safety Pins
  • Straight Pins
  • Sewing Machine
  • Iron and Ironing Board
  • Comfortable Work Environment
This ends up being about a 40" square quilt, perfect for a new baby. When choosing material, I like to use solids and tonals to keep the quilt from being too busy. Plus, solid cotton fabrics will tend to be less expensive than some of the lovely prints you can find.

When considering your work environment, you will need to be able spread out a bit. I used to sew at the dining room table with my ironing board set up in a corner. Look at your own situation and determine what the best place will be, especially if you are having to set up and take down your work area each time you are ready to sew. Make it as easy and convenient as possible so you don't lose interest in finishing to project.

That's all for this week. If you have any questions, feel free to drop me a line and I will be happy to answer them as best as I can. Have gathering those supplies!

Happy Crafting All!